The new RØDELink is a wireless audio kit aimed at beginners and advanced filmmakers who don’t want to follow their talent around with a directional microphone all the time or just prefer wireless over cable. The RØDELink is priced at $399.00.
You can watch our first impressions video review with a few audio tests below. We used the wireless kit for all the audio you here in the video!
The kit includes a transmitter (TX) and a receiver (RX) as well as a lavalier mic plus a few little accessories like a windshield and a deadcat. The transmitter and the receiver are lightweight and made out of plastic.
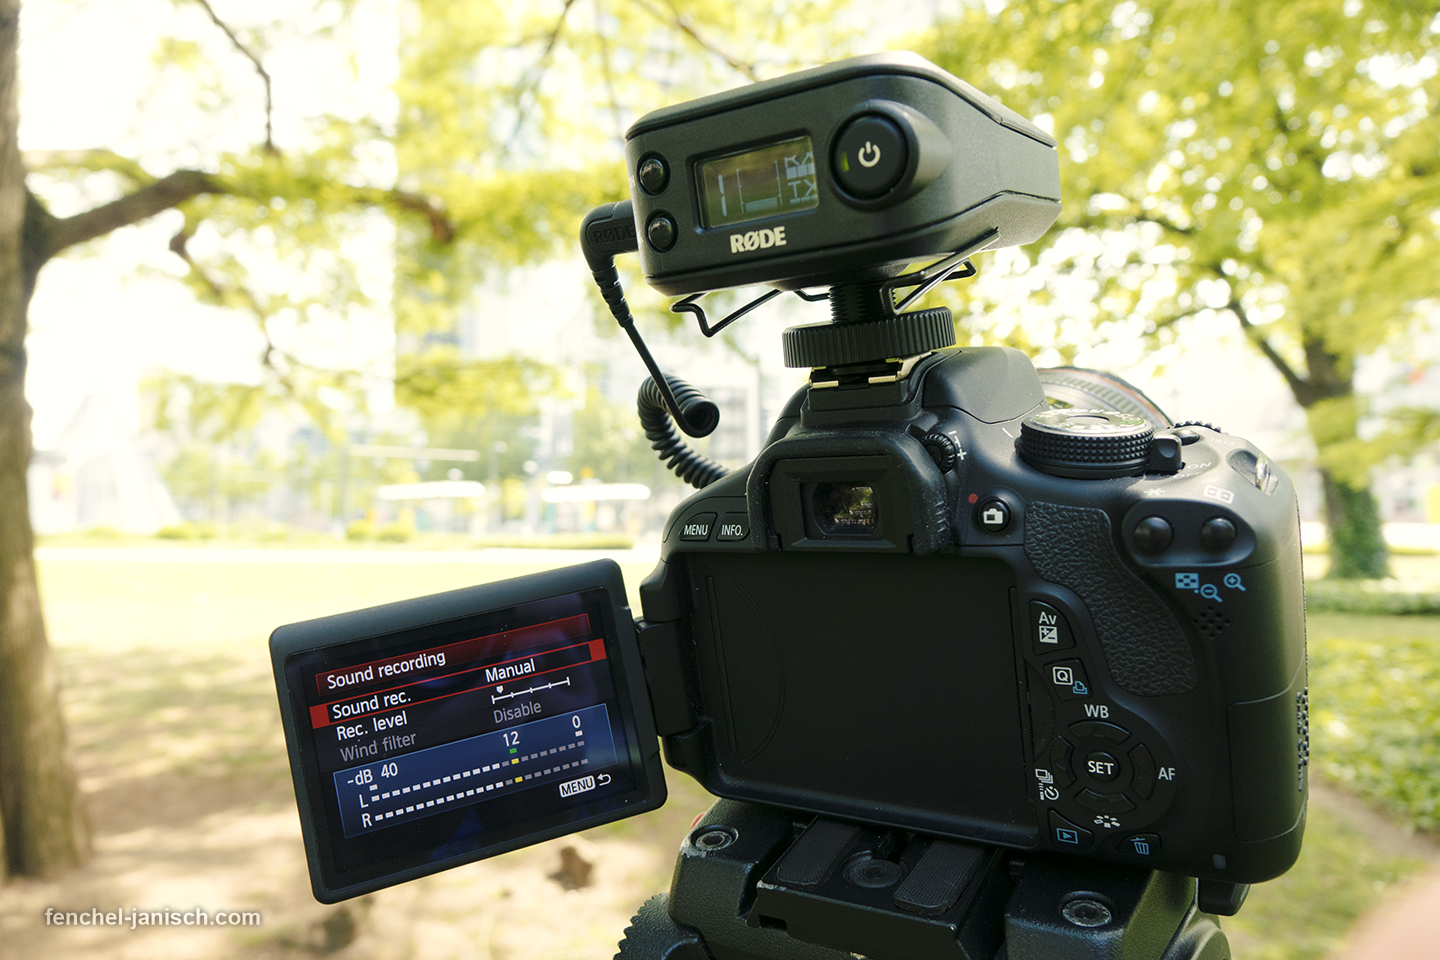
Both devices can be opened at the back and can be powered with two AA batteries or via Micro-USB. Above where the batteries are located is a gain adjustment. You can set it to 0db, +10db or +20db. Depending on the preamps of your camera you can use the +20db option to reduce noise and hiss. This is especially useful when recording with older Canon DSLRs or the Blackmagic Pocket Cinema Camera which doesn’t have the best internal preamps.
The TX has a simple on/off button that needs to be pressed for ca. 1-2 seconds until it switches on or off. The lavalier mic is connected with the TX by using a MiCon-1 adapter. By pressing the on/off button shortly a red lamp will turn on on both devices. Green means that everything is fine and red means that the audio is being muted. Next to the button is a little display that shows the channel that’s being used. On the backside is a metal clip to be able to stick it onto a belt.
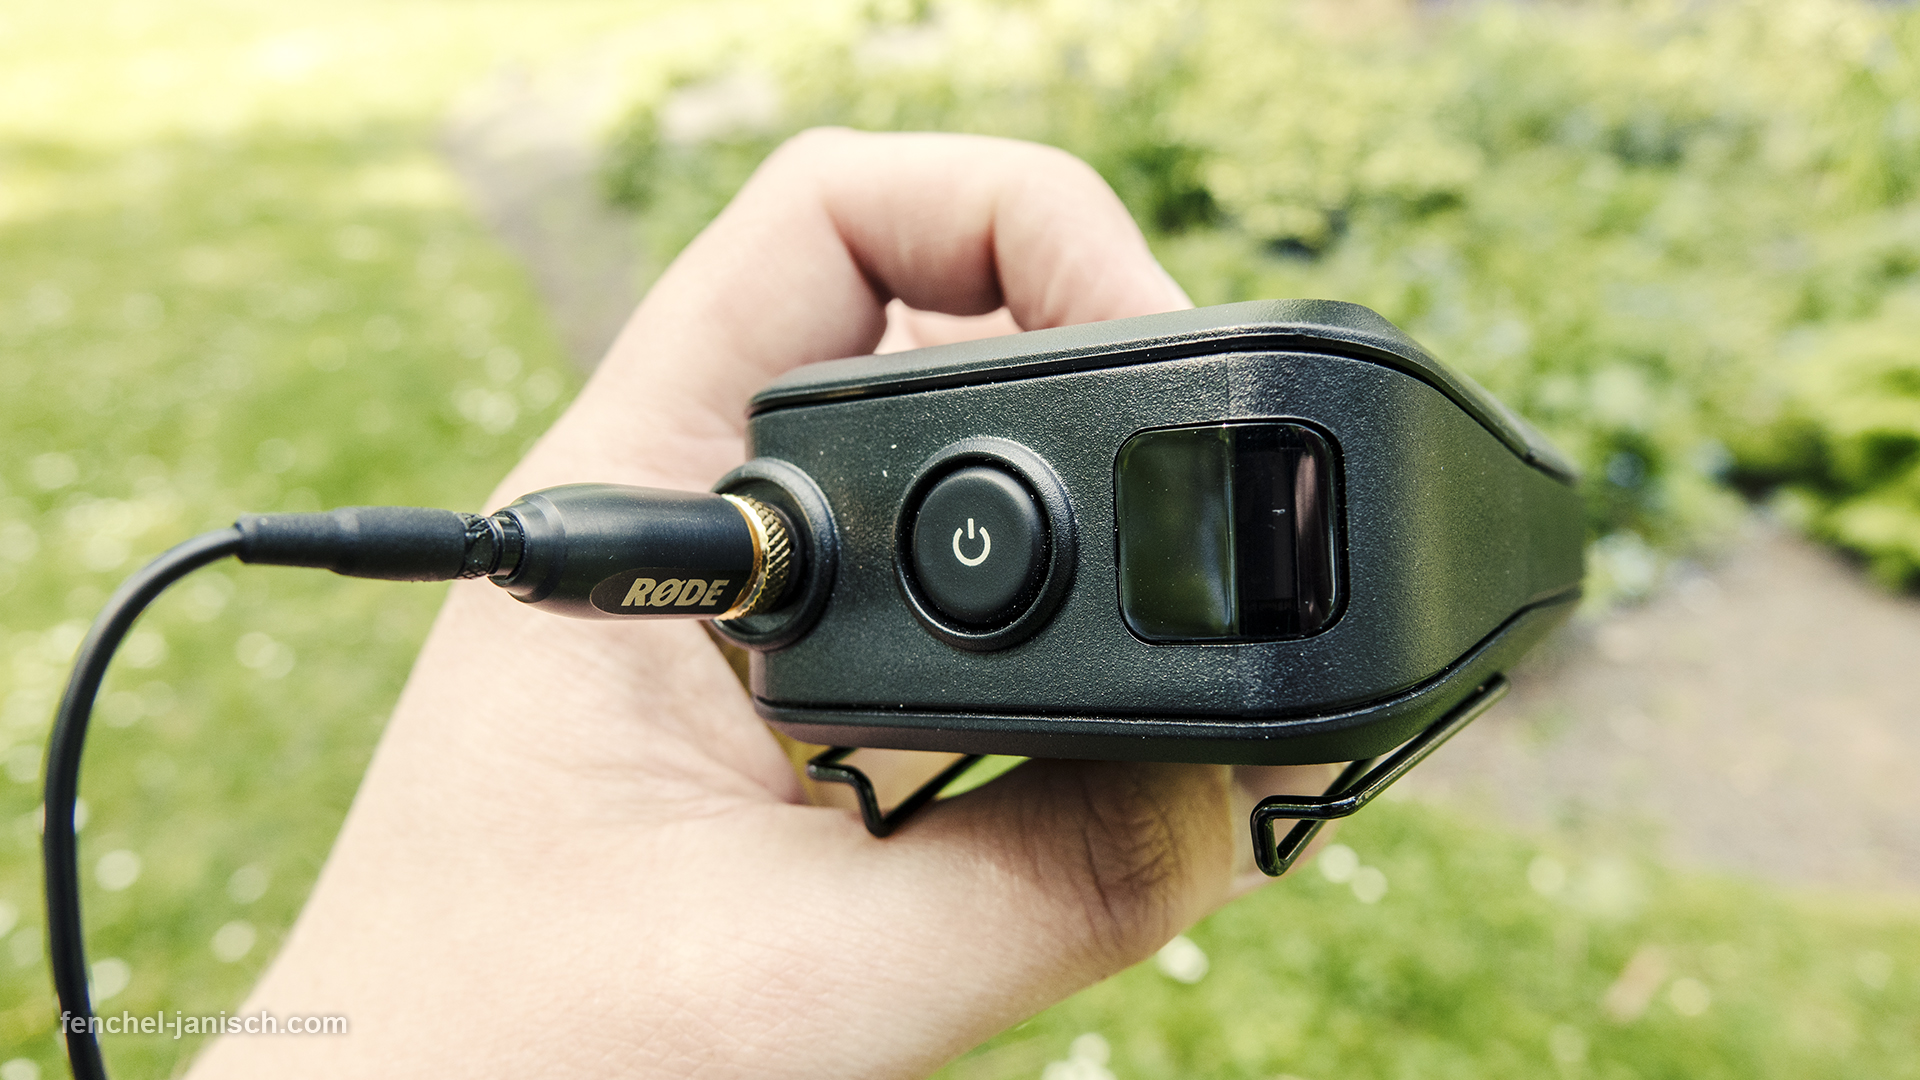
The RX only has three buttons. Yes, that’s right, only three! An on/off button on the right side of the front. In the middle is a little display and on the left side is a channel (CH) button and one to mute the audio.
When turning on the device it will load for 1-2 second(s) and search for a signal. That signal is being displayed in the middle of the screen. If the TX and the RX are connected you can see the audio levels in instead of the “search signal”. The channel is being displayed on the left side. When we used the whole kit the channel frequence was always 1. If you press the channel button it will go to 8 and back to one if you press again. In the end it doesn’t matter for most users because both devices will automatically connect once they are turned on.
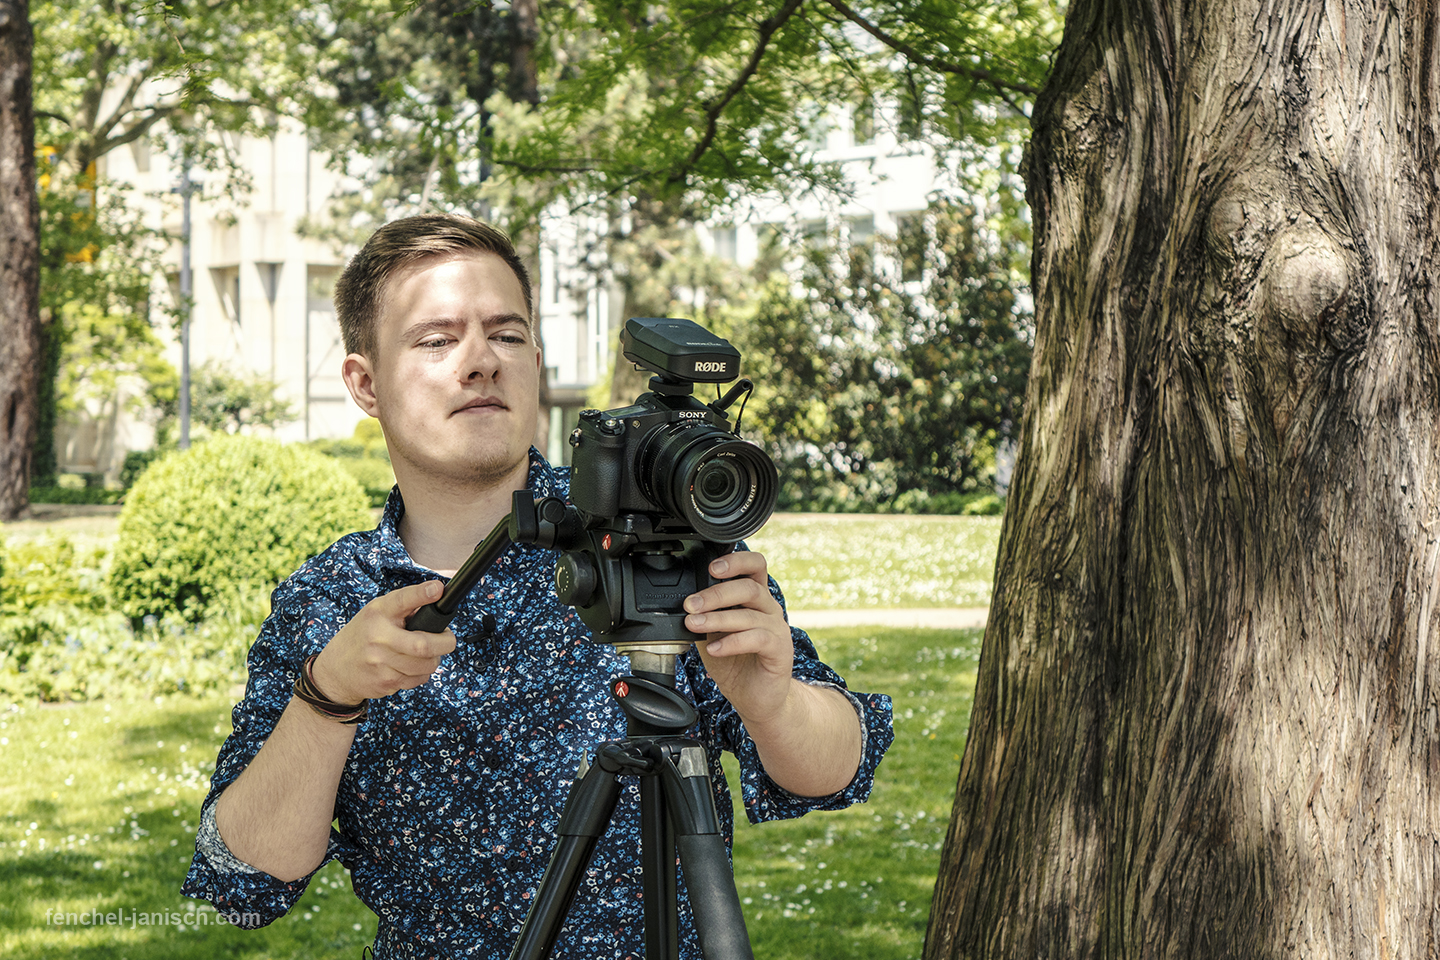
On the right side of the screen is a battery symbol which shows with three bars how much power both devices have left. On the side is a 3.5mm input for the cable that delivers the audio from the receiver into the camera. Otherwise you are going to end up without any sound. The RX has a metal clip as well and a mounting option to be able to mount it on top of cameras with a hot shoe.
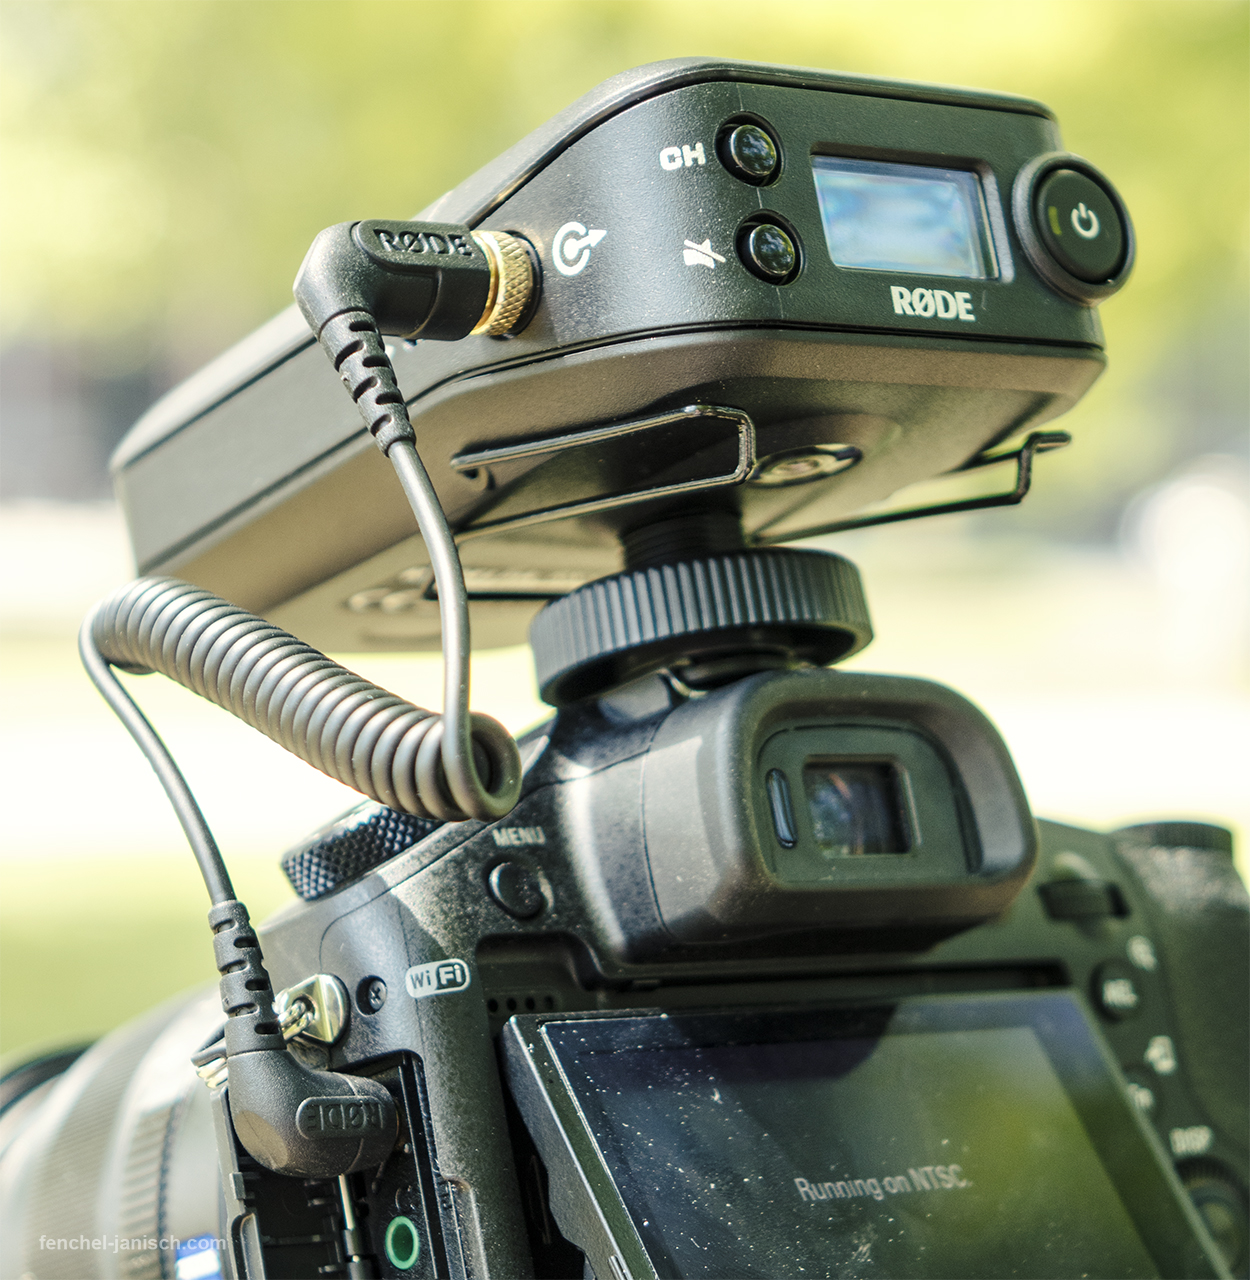
The MiCon-1 and the included 3.5mm cable have a special screw to avoid them from being ripped out of the device.
So, how well does it perform? I am overall really happy with this little kit. It’s super easy to use. You don’t have to find the right sequence or channel because the RØDELink is doing it all by itself. The audio quality was good with all tested cameras. How much hiss and noise you can hear hugely depends on the camera that is being used and its preamps. We use the RØDE lavalier mic on a lot of productions so we already know that it’s a good mic for a lot of situations.
According to the manufacturer the RØDELink has a reach of 100m which is a lot. While testing it we didn’t have any dropout until around 85 meters. There are a few factors that can influence how far the signal can be send. Walls etc. can bring that range down a lot but for most situations the signal is fine.
If you are looking for a wireless audio system that is easy to use, that works and delivers great sound then the RØDELink seems to be a good choice especially when looking at the price.
You can order the RØDELink here!
Written by Moritz Janisch